Before you start: make sure you've set up product tax groups — this is what maps your sales to the correct accounts. Learn more about tax groups here.
Supported systems
- Azets
- Conta
- DNB Regnskap
- Duett Economy
- Eika Regnskap
- Fiken.no
- Fortnox
- Mamut
- NCH Accounting
- PowerOffice Go
- QuickBooks Accounting (UK)
- Sage Accounting (UK)
- SoftRig/UniMicro Accounting
- Sparebank 1 Regnskap
- 24SevenOffice / Finago
- Tripletex
- Visma Business
- Visma Business NXT
- Visma eAccounting
- Xero Accounting
- Xledger
We might support more systems in the future. You can contact Favrit Support to suggest which system to support next.
1. Authorizing
Go to Admin > Settings > Integration > Account Integration. Choose your integration partner from the supported systems. The different systems use different authentication methods:
2. Setting up the accounts
After authentication, add your general account numbers: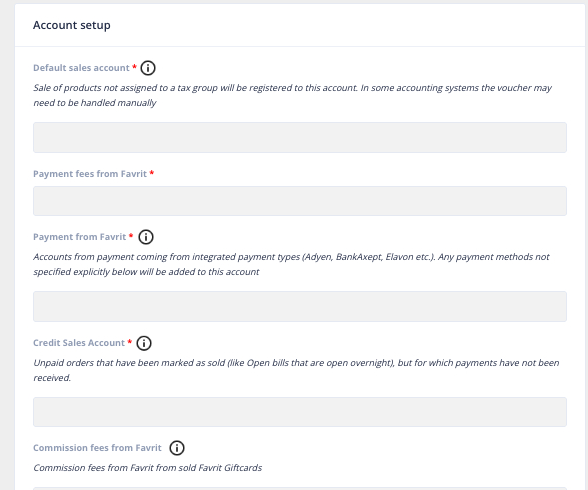
| Account | What it's for |
|---|---|
| Default sales | Any sale without a connected product group. |
| Payment fees from Favrit | The payment processor's fee, cut directly from the revenue. |
| Payment from Favrit | Payments coming from integrated payment types (Adyen, BankAxept, Elavon, etc.). Any payment method not specified explicitly for a payment type is added to this account. |
| Credit sales account | Unpaid orders that have been marked as sold (like open bills left open overnight), but for which payment has not been received. |
| Commission fees from Favrit | Commission fees from Favrit on sold Favrit gift cards. |
| Tips | Tips that guests pay to the customer while ordering. |
| Delivery point fee | Fee paid by a guest for using a delivery point (if you have set it up). |
| Micronetwork invoices | Which accounts your micronetwork partners' orders should go to (if applicable). |
You can also set up accounts for each payment type — for example representation, invoice, or card payments on QR.
Here you can find some common account numbers.
3. Solving issues
If you encounter any issues, go to Admin > Company Settings > Integration > Accounting Integration and check for error messages. Solve the issue and try the resync button. Here you can see some common reasons for errors, and how to solve them.
Invoice integration
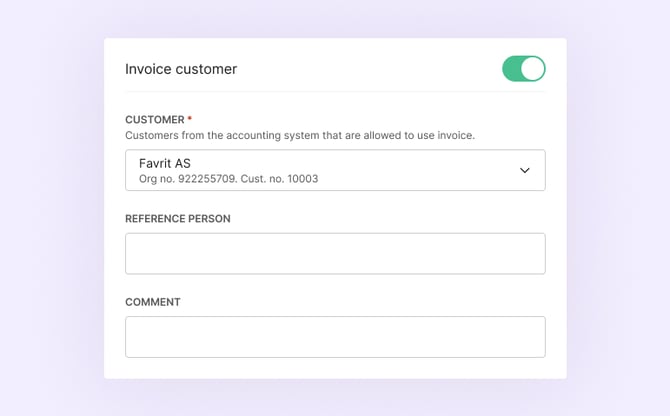
Many accounting systems also support invoice integration, which lets a customer pay by invoice in ePOS and sends the invoice to the accounting system. See how to enable the invoice integration.